Introduction
GEANT4 (for GEometry ANd Tracking) is a platform for the simulation of the passage of particles through matter using Monte Carlo methods [1]. It is a software toolkit developed by the international GEANT4 collaboration with the use of object-oriented programming in C++. This software is used by several research projects around the world.
Library files required to install Geant4
Before starting the GEANT4 installation, some library files are required to install GEANT4. So, it’s always advised to install necessary library files before the installation process begins. The following list of library files (here specifically mentioned for the Ubuntu Linux distribution) may be needed to install GEANT4 and install them using a command in a terminal.
build-essential
sudo apt-get install build-essential -y
cmake
sudo apt-get install cmake -y
X11 Xmu library
sudo apt-get install libxmu-dev -y
lesstif-bin
sudo apt-get install lesstif-bin -y
X11 library
sudo apt-get install libx11-dev -y
EXPAT library
sudo apt-get install expat libexpat1-dev -y
suitable Qt version
sudo apt-get install libqt4-core libqt4-dev libqt4-gui qt4-dev-tools -y
Xerces-C package
sudo apt-get install libxerces-c2-dev -y
MesaGL headers and libraries
sudo apt-get install mesa-common-dev -y
sudo apt-get install libglu1-mesa-dev -y
Other Library Files
Some other library files may be needed depending on the Linux distribution. If you need any other library files while installing, just give the command
sudo apt-get install <libraryname> -y
In case, if you getting a problem installing a library file using the sudo command then download the .tar file of the package and install it using the following command in the terminal:
sudo dpkg -i <libraryname>.tar.gz
Installation Process
1. Downloading the Geant4 Software
First download the GEANT4 source package from the link: https://geant4.web.cern.ch/support/download
2. Unpackaging the Downloaded File
In my case, the name of the downloaded file is geant4.10.06.p03.tar.gz and it is downloaded in the directory whose path is/home/priya/Downloads.
Now make a directory named /programs in your home directory. Copy the downloaded file to /programs using a terminal command
cp -r /home/priya/Downloads/geant4.10.06.p03.tar.gz /home/priya/programs/
Now, untar the GEANT4 source package using the command:
tar -zxvf geant4.10.06.p03.tar.gz
This will generate a source directory geant4.10.06.p03. Go to this folder geant4.10.06.p03.
Now, create two folders in the geant4.10.06.p03 folder. In my case, these are geant4-build and geant4-install. For creating these two directories, I used these commands:
mkdir geant4-build
mkdir geant4-install
3. Build the GEANT4
Now go to the geant4-build folder and build the GEANT4 by using the command:
cmake -DCMAKE_INSTALL_PREFIX=/home/priya/programs/geant4.10.06.p03/geant4-install
-DGEANT4_INSTALL_DATA=ON
-DGEANT4_USE_GDML=ON -DGEANT4_USE_QT=ON
-DGEANT4_USE_OPENGL_X11=ON
-DGEANT4_USE_SYSTEM_EXPAT=OFF /home/priya/programs/geant4.10.06.p03
After that type the command:
make -j7
where “-j7” means that I want my 7 cores of CPU to be used in this build. You can check the number of cores (nproc) in your system using the command in the terminal
nproc
Let’s say you have 8 cores in my system but you want to do something else during the installation, then you can use 7 cores. If you go without “-j7” then the installation will use only one core and installation will take longer. With the 7 cores, the installation took about 1 hour to complete. This installation time may vary depending on your system configuration.
4. Install Geant4
Type the following command to install the Geant4:
make install
Now you have to set environment variables in the .bashrc file. This can be done manually or by using the following command:
echo "/home/programs/geant4.10.06.p03/geant4-install/share/Geant4-10.6.3/geant4make/geant4make.sh" >> /home/priya/.bashrc
Compilation of the Programs
After the successful installation of your Geant4, you can run GEANT4 examples from anywhere in your system. I have created a working directory GEANT-Test on my Desktop and run the GEANT4. I have copied the directory examples from /home/user/Geant4/geant4.10.02.p02-install/share/geant4.10.02/examples to the working directory GEANT-Test using the command:
cp -r /home/priya/programs/geant4.10.06.p03/examples/ /home/priya/Desktop/GEANT-Test
Now I went to the B1 directory using the command:
cd /home/priya/Desktop/GEANT-Test/examples/basic/B1/
So, you need to do the same things in your system as I did.
Now you need to create a separate folder to compile the program. You can create a folder named build and go to that folder using these commands one by one:
mkdir build
cd build/
Now, you have to make and run the example B1 using these commands one by one:
cmake ..
make
Now, GEANT4 is ready for use and you can check it by using the command:
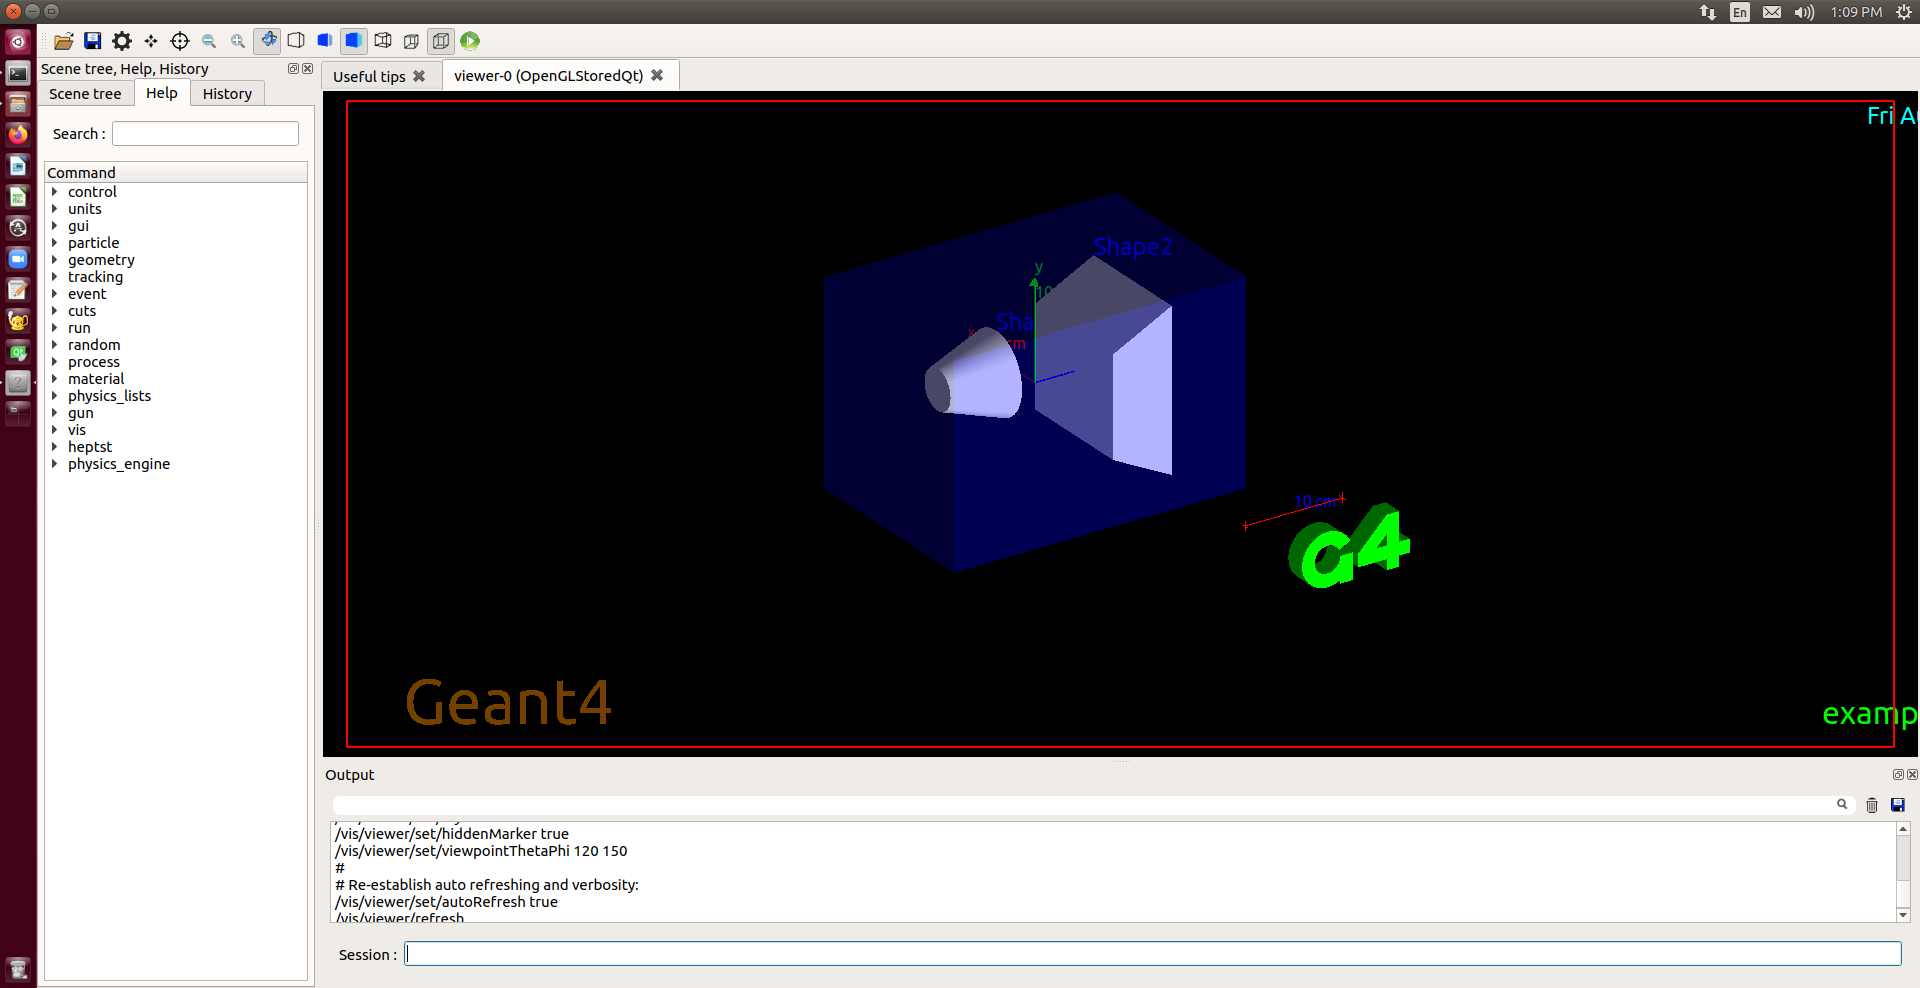
./exampleB1
If you are done with this and if a new window (shown below) will pop up in your system, it means you have successfully installed GEANT4.
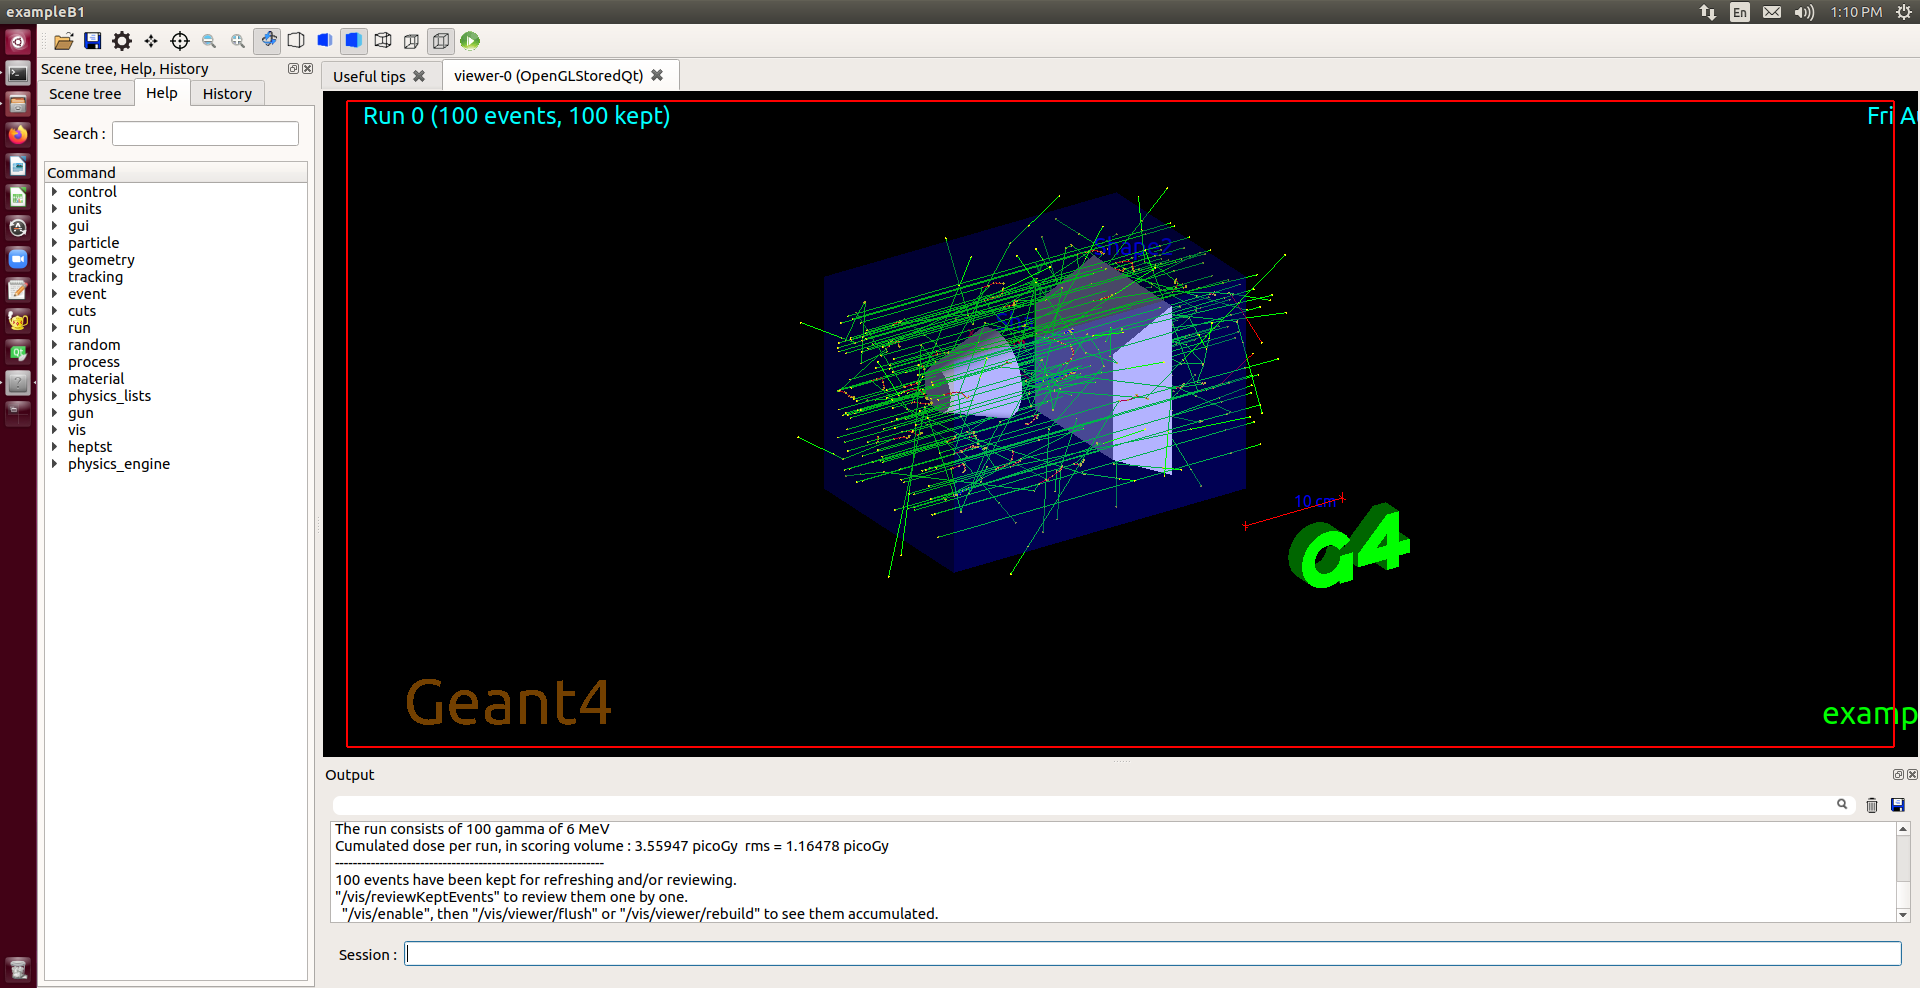
Run the Beam
You can run the beam using a command line on the GEANT4 screen. Suppose you want to generate 100 events. So for 100 events just give the command
/run/beamOn 100
The /run/beamOn command specifies the number of events you want to generate. The output after giving the above command is shown below.